Quick start#
Hardware requirements#
- Raspberry Pi 4 or 5 / CM5. 4 GB RAM or more. 2 GB boards run, but 4 GB is recommended for UHD/4K.
- A supported sensor board: official HQ (IMX477) or Global Shutter (IMX296) camera, OneInchEye (IMX283) or Starlight Eye (IMX585). See Camera sensors and frame rates.
- HDMI monitor or a phone/tablet for monitoring
Installation#
Burn the latest CineMate image to an SD card. Connect the camera sensor board, then to power and then boot. CineMate autostarts.
Ensure the Pi is powered off before attaching the camera ribbon cable. Hot-swapping may damage the hardware.
Preview#
- Plug in an HDMI monitor, or
- Join the Wi‑Fi network
CinePi(password11111111) and opencinepi.local:5000.
Clean feed without the GUI: cinepi.local:8000.
Recording#
- Attach a high‑speed drive: an SSD (Samsung T7 recommended), an NVMe drive, or the CFE Hat. Format it
exFATand label itRAW.ext4also works;NTFSis supported but not recommended, because it can drop frames under sustained 4K writes. - Connect a button between GPIO7 and GND. They are adjacent, so a paper clip can short them. Tapping the phone preview also starts and stops recording. More buttons and dials: Additional hardware.
Remember to power everything down before disconnecting hardware!
The web interface#
The camera serves two browser pages on port 5000, http://cinepi.local:5000 and http://cinepi.local:5000/settings-editor.
On the hotspot http://10.42.0.1:5000 and http://10.42.0.1:5000/settings-editor work too, if cinepi.local does not resolve. Both pages are plain HTTP unless you turn on system.https, off by default. See also Configuring the Wi-Fi hotspot.
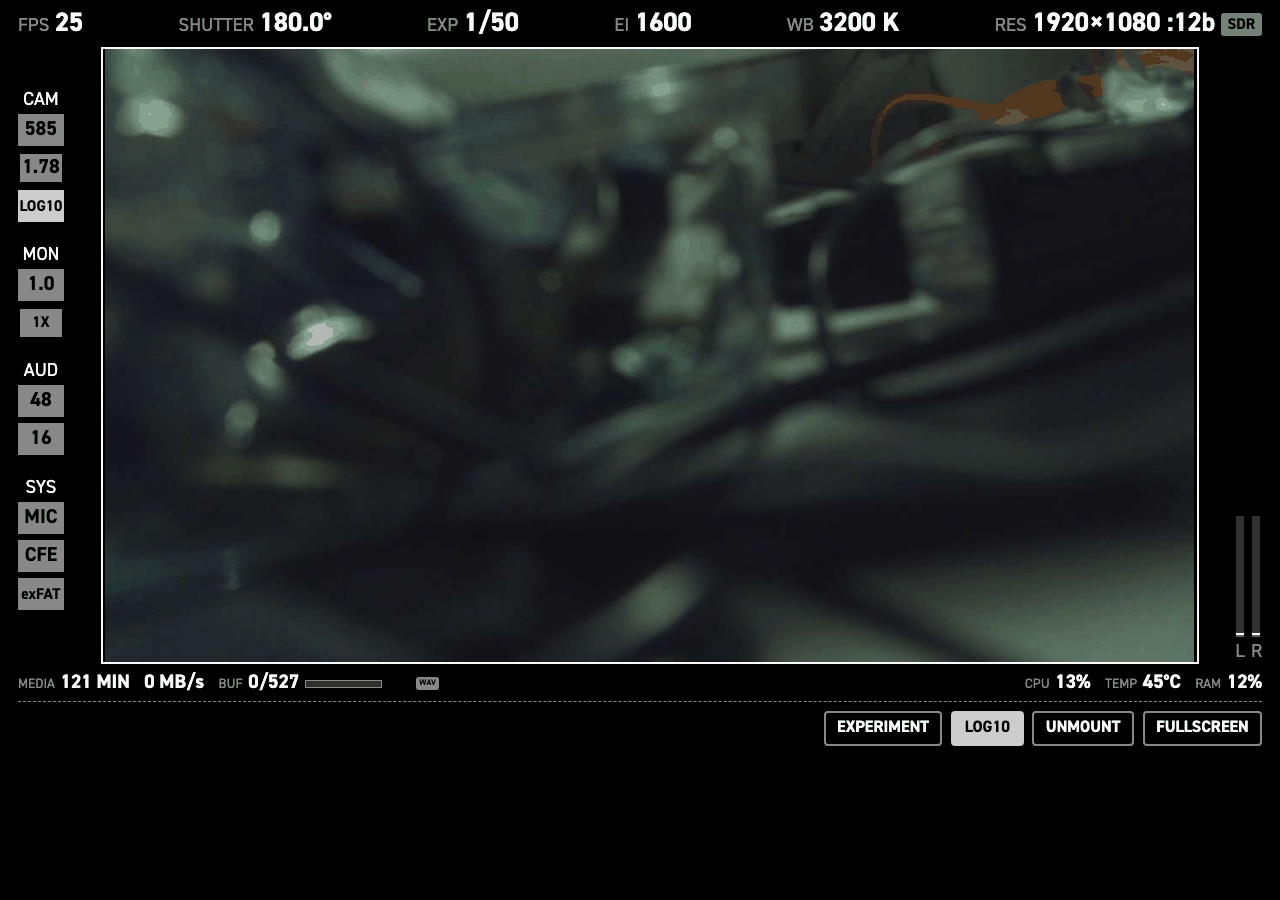
| Page | Function | Full documentation |
|---|---|---|
:5000 |
Live preview, ISO, shutter angle, FPS, white balance, resolution. Tap the preview to record | Web GUI |
:5000/settings-editor |
Pick the sensor, edit every camera setting, live view, play back a take, browse and pull takes off the RAW drive | Settings editor · Camera settings · Boot config · Additional hardware |
The shooting screen has no record button. Tap the preview to roll. EXPERIMENT button extends all available controls for live testing.
Set the sensor#
CineMate is preconfigured to the standard Raspberry Pi HQ camera (IMX 477). If you are using another of the compatible sensors, in the settings editor's config.txt tab, pick your board in Camera 0 sensor and press Save changes. The Pi reboots and reads your new sensor settings. See also Switch to a different sensor.
Change the hotspot password#
11111111 is printed in this documentation. Treat the camera as open until you change it.
- Open the settings editor's settings.jsonc tab, the default tab.
- Go to Wi-Fi hotspot.
- Set Network name and Password. Use at least 8 characters. A shorter password is silently discarded: the hotspot keeps your network name but falls back to
11111111. - Press Save changes in the top bar.
Saving restarts CineMate. A root service reconciles the hotspot on a 60-second pass, so the change goes live within a minute. The access point restarts and drops every connected device, including yours. Rejoin with the new password.